Published
- 9 min read
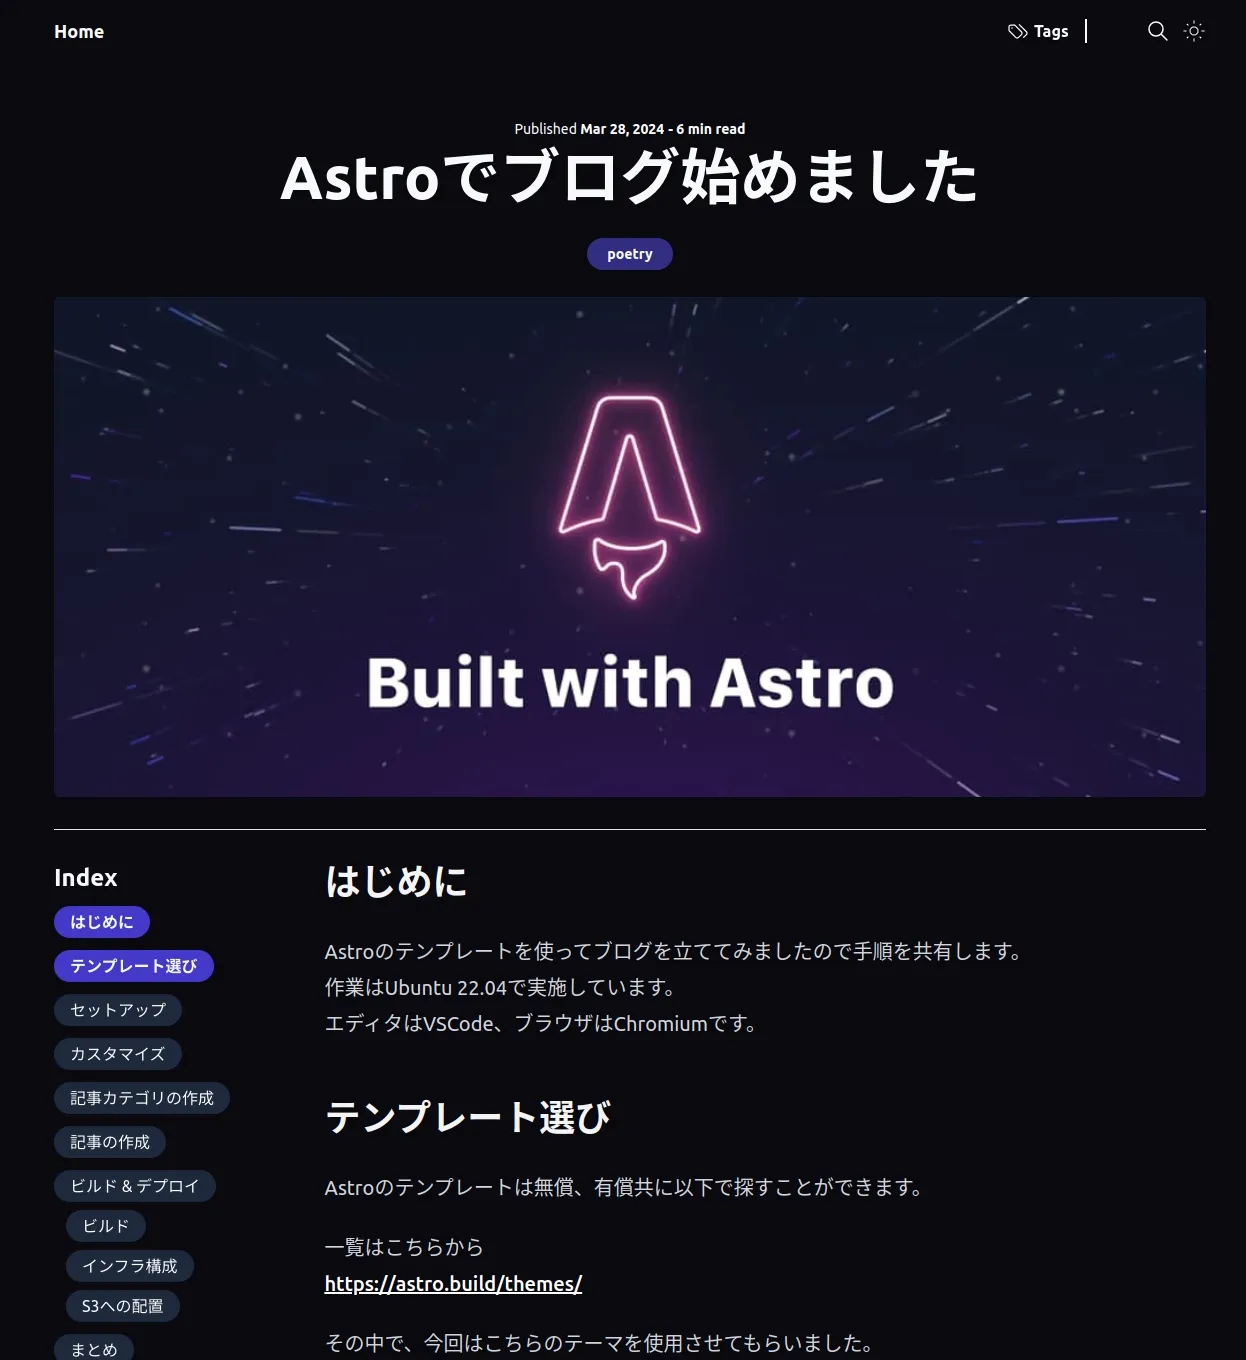
Astroでブログ始めました
はじめに
Astroのテンプレートを使ってブログを立ててみましたので手順を共有します。
作業はUbuntu 22.04で実施しています。
エディタはVSCode、ブラウザはChromiumです。
テンプレート選び
Astroのテンプレートは無償、有償共に以下で探すことができます。
一覧はこちらから
https://astro.build/themes/
その中で、今回はこちらのテーマを使用させてもらいました。
https://astro.build/themes/details/openblog/
スッキリしてかっこいい見た目で、ダークモードもあるところがお気に入りです。
セットアップ
GitHubのReadmeに使用手順が書いてますのでそれに従ってセットアップを行います。
めちゃくちゃ丁寧でありがたいです。
モジュールのインストール等を実施してください。
       git clone https://github.com/danielcgilibert/blog-template.git

cd blog-template

npm install

npm run dev
※pnpm使うように指示されていますが、私はnpmにしました。
人の言うこと聞けなくてすみません。
カスタマイズ
Readmeに従い、以下の設定ファイルを修正します。
- src/data/site.config.ts
       (略)
export const siteConfig: SiteConfig = {
	author: 'minminlab.com', // 著者を変更
	title: 'blog.minminlab.com', // ブログタイトルを変更
	description: 'A tech blog site.', // よしなに変更
	lang: 'ja-JP',// 日本語に変更
	ogLocale: 'ja_JP',// 日本語に変更
(略)
- astro.config.mjs
       (略)
// https://astro.build/config
export default defineConfig({
	site: 'https://blog.minminlab.com/', // URLを変更
(略)
以下は一旦変更せずに行きます。
- public/favicon
- public/robots.txt
- public/open-graph
Readmeに記載はないですが、フッターのCopyRightはついでに変更しておきます。
- src/components/Footer.astro
<footer class='flex justify-center items-center w-full px-16 h-28 border-t-2'>
© {today.getFullYear()} blog.minminlab.com. All rights reserved.
</footer>
記事カテゴリの作成
Readmeに従い記事のカテゴリを用意しましょう。
src/data/categories.ts を編集します。
初期設定ではCategory1~5が用意されています。
すべて消して任意のカテゴリに書き換えましょう。
(npm run devしている人はこの段階で全部の記事がエラーになると思います。)
       export  const  CATEGORIES  =  [
'Astro',
'ポエム'
]  as  const
記事の作成
このテンプレートにはTina CMSが組み込まれています。
初めて使いましたがめっちゃ便利ですね。
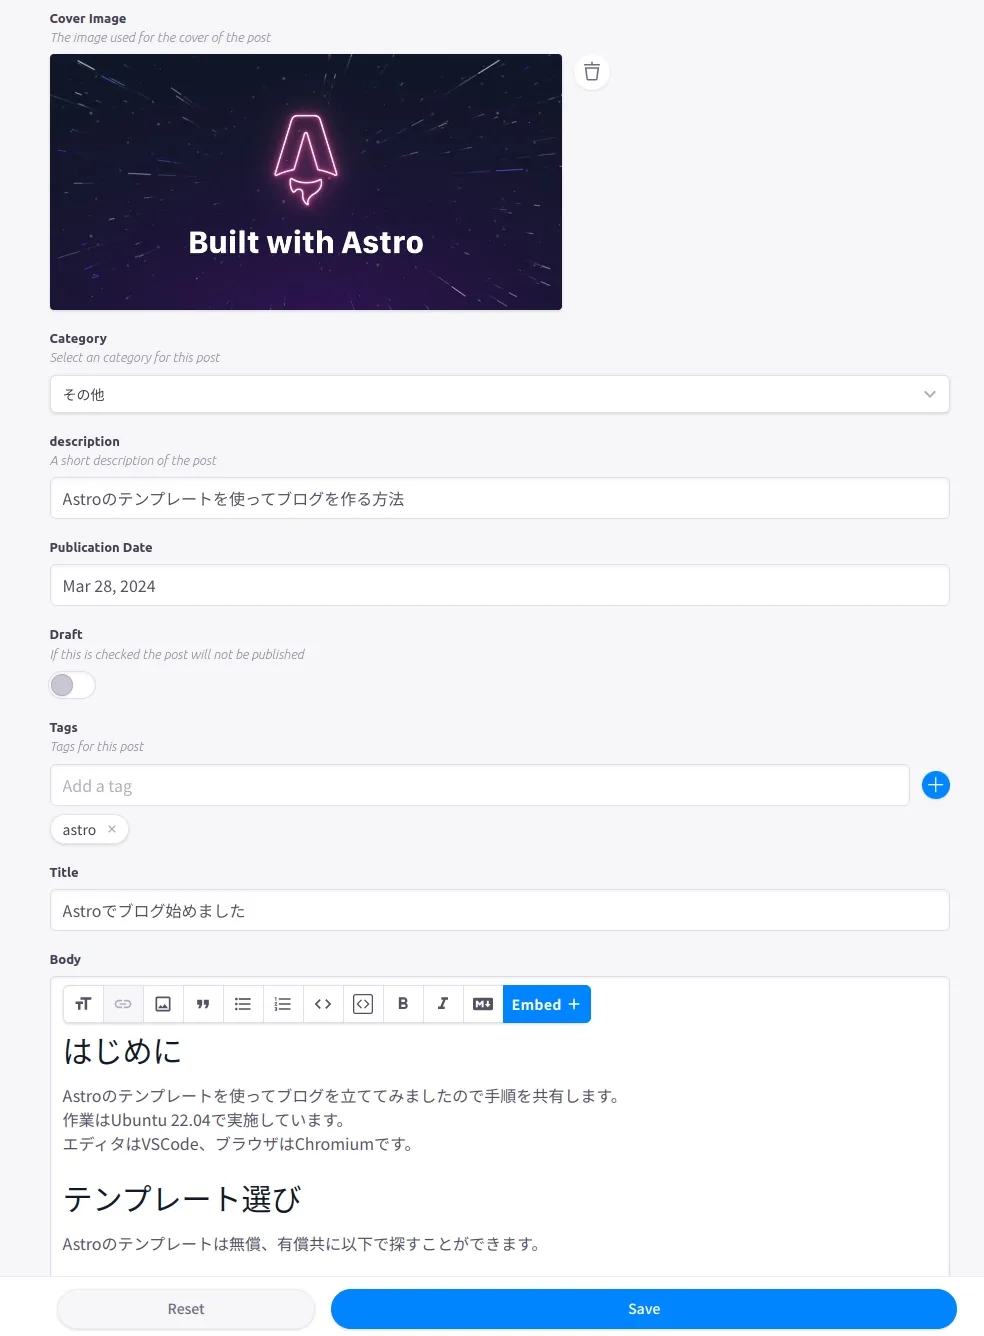
初期設定では src/content/blog に記事が格納されます。
アイキャッチ画像は ‘assets/images’ が設定されています。
また記事は、Tinaからだけでなく、ファイルを直接編集することも可能です。
Tinaはローカルサーバで起動しているブログの「EDIT IN CMS」のボタンか、 http://localhost:4321/admin/index.htmlからアクセスすることができます。
「Blog Post」にはサンプル記事が用意されていますが、すべて削除します。
「Create New」で新しく記事を書きましょう。
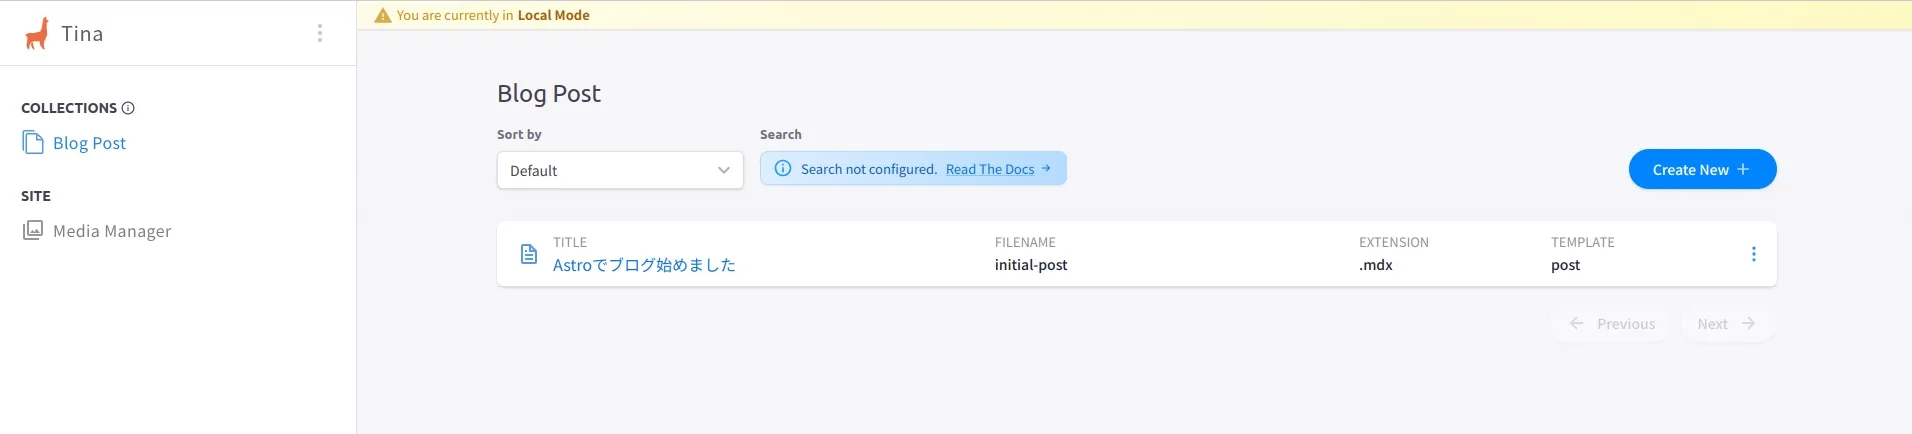
エディターですべての要素を埋めて「Save」を押すと、記事が公開されます。
(Draftに設定した場合は記事一覧に出現しません。)
Home画面(記事一覧画面)に作成した記事が出てくる。
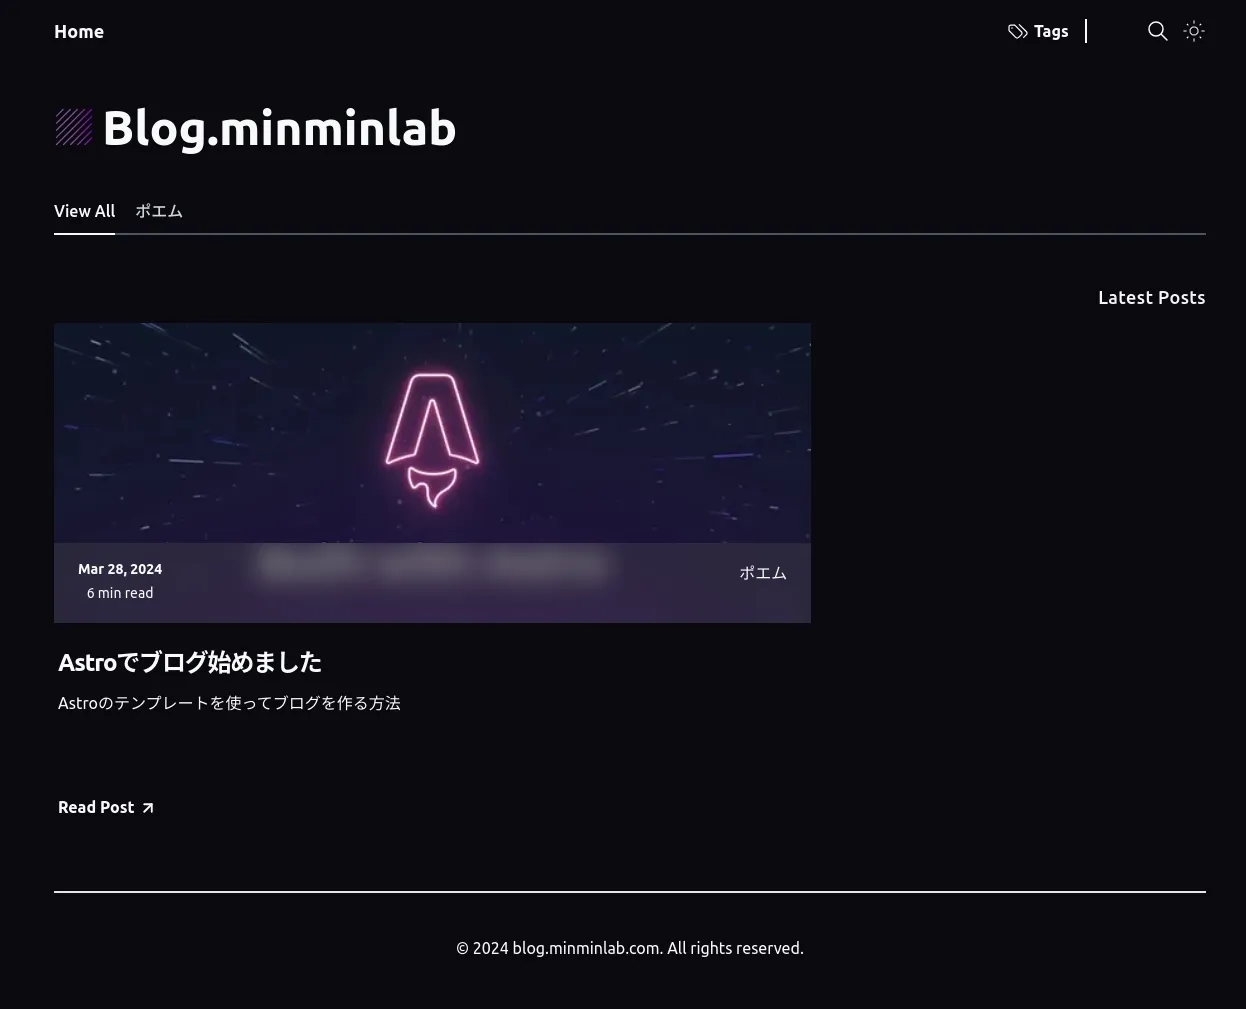
もちろんクリックすると読むことができます。
ビルド & デプロイ
それではビルドしてインターネット上に公開します。
Astroの公式サイトのチュートリアルではNetlifyを使っていました。
テンプレートはVercelのようです。
まったく触ったことがないので、最近流行りのホスティングサービスを使ってみたいですね。
今回は一番馴染みがあるCloudFront + S3の構成で作成しました。
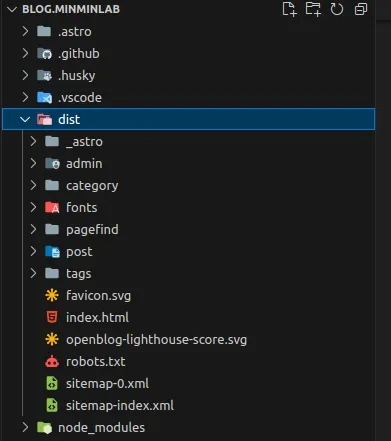
ビルド
プロジェクトをビルドします。
npm run build
distディレクトリにhtml等が生成されました。
インフラ構成
今回はTerraformを使って作成していきます。
CloudFront + S3でAstroの静的サイトホスティングをする方法は公式サイトでもチュートリアルが提供されています。
※以下はCloudFrontが作成するデフォルトのドメインを使用してアクセスするサンプルです。
カスタムドメインを使用する場合は、別途Route53やACMの設定を行ってください。
また、プロファイルやバケット名等各自の環境に合わせたセットアップを行ってください。
- ディレクトリ構成例
       terraform/
    ├ script/
    │   └ cloudfront_function.js
    ├ template/
    │   └ s3_bucket_policy.json
    └ main.tf
- main.tf
Terraformでのリソース設定全般
       # Terraform, AWS Providerのバージョン設定
terraform {
  required_version = ">=1.6.0"

  required_providers {
    aws = {
      source  = "hashicorp/aws"
      version = "5.42.0"
    }
  }
}

# AWS Provider設定
# ProfileやBackendの設定は各自の環境に合わせて行ってください
provider "aws" {
  region = "ap-northeast-1"
  profile = "YOUR_AWS_PROFILE"
}

# CloudFront Settings
## CloudFrontのマネージドキャッシュポリシーをデータとして取得
data "aws_cloudfront_cache_policy" "astro-blog" {
  name = "Managed-CachingOptimized"
}

## CloudFront本体
resource "aws_cloudfront_distribution" "astro-blog" {
  comment                         = "astro blog cloudfront"
  default_root_object             = "index.html"
  enabled                         = true
  price_class                     = "PriceClass_200"
  # ビヘイビアとCloudFront Functionの設定
  default_cache_behavior {
    cache_policy_id            = data.aws_cloudfront_cache_policy.astro-blog.id
    allowed_methods            = ["GET", "HEAD"]
    cached_methods             = ["GET", "HEAD"]
    compress                   = true
    target_origin_id           = aws_s3_bucket.astro-blog.bucket_regional_domain_name
    viewer_protocol_policy     = "https-only"
    function_association {
      event_type   = "viewer-request"
      function_arn = aws_cloudfront_function.astro-blog.arn
    }
  }
  origin {
    domain_name              = aws_s3_bucket.astro-blog.bucket_regional_domain_name
    origin_access_control_id = aws_cloudfront_origin_access_control.astro-blog.id
    origin_id                = aws_s3_bucket.astro-blog.bucket_regional_domain_name
    origin_path              = null
  }
  restrictions {
    geo_restriction {
      locations        = []
      restriction_type = "none"
    }
  }
  viewer_certificate {
    cloudfront_default_certificate = true
    minimum_protocol_version       = "TLSv1.2_2021"
    ssl_support_method             = "sni-only"
  }
}

# Origin Access Control(OAC)
resource "aws_cloudfront_origin_access_control" "astro-blog" {
  description                       = "astro blog bucket oac"
  name                              = aws_s3_bucket.astro-blog.bucket_regional_domain_name
  origin_access_control_origin_type = "s3"
  signing_behavior                  = "always"
  signing_protocol                  = "sigv4"
}

# サブドメインのパスにindex.htmlを付加するためのCloudFront Function
resource "aws_cloudfront_function" "astro-blog" {
  code    = file("${path.module}/script/cloudfront_function.js")
  comment = "rewrite request url with index.html"
  name    = "astro-blog-function"
  runtime = "cloudfront-js-2.0"
  publish = true
}

# S3 Bucket Settings
## S3バケット本体
## 名前はグローバルに一意である必要があるので各自の環境に合わせて変更してください。
resource "aws_s3_bucket" "astro-blog" {
  bucket = "astro-blog-content-20240328"
}

## パブリックアクセスブロック
resource "aws_s3_bucket_public_access_block" "astro-blog" {
  bucket                  = aws_s3_bucket.astro-blog.id
  block_public_acls       = true
  block_public_policy     = true
  ignore_public_acls      = true
  restrict_public_buckets = true
}

## OACからのアクセスを許可するためのバケットポリシー
resource "aws_s3_bucket_policy" "astro-blog" {
  bucket = aws_s3_bucket.astro-blog.id
  policy = templatefile(
    "${path.module}/template/s3_bucket_policy.json",
    {
        s3_bucket_arn               = aws_s3_bucket.astro-blog.arn,
        cloudfront_distribution_arn = aws_cloudfront_distribution.astro-blog.arn
    }
  )
}
- template/s3_bucket_policy.json
S3バケットポリシーのテンプレートファイル。
       {
  "Version": "2008-10-17",
    "Id": "PolicyForCloudFrontPrivateContent",
      "Statement": [
        {
          "Sid": "AllowCloudFrontServicePrincipal",
          "Effect": "Allow",
          "Principal": {
            "Service": "cloudfront.amazonaws.com"
          },
          "Action": "s3:GetObject",
          "Resource": "${s3_bucket_arn}/*",
          "Condition": {
            "StringEquals": {
              "AWS:SourceArn": "${cloudfront_distribution_arn}"
            }
          }
        }
      ]
}
- script/cloudfront_function.js
サブディレクトリにアクセスする際にindex.html をリクエストパスに追加するためのコード。
必要性はAstroの公式チュートリアルから確認ください。
コードも上記から拝借しています。
       function handler(event) {
  var request = event.request;
  var uri = request.uri;

  // Check whether the URI is missing a file name.
  if (uri.endsWith('/')) {
    request.uri += 'index.html';
  }
  // Check whether the URI is missing a file extension.
  else if (!uri.includes('.')) {
    request.uri += '/index.html';
  }

  return request;
}
配置完了後、terraform applyコマンドで環境反映します。
S3への配置
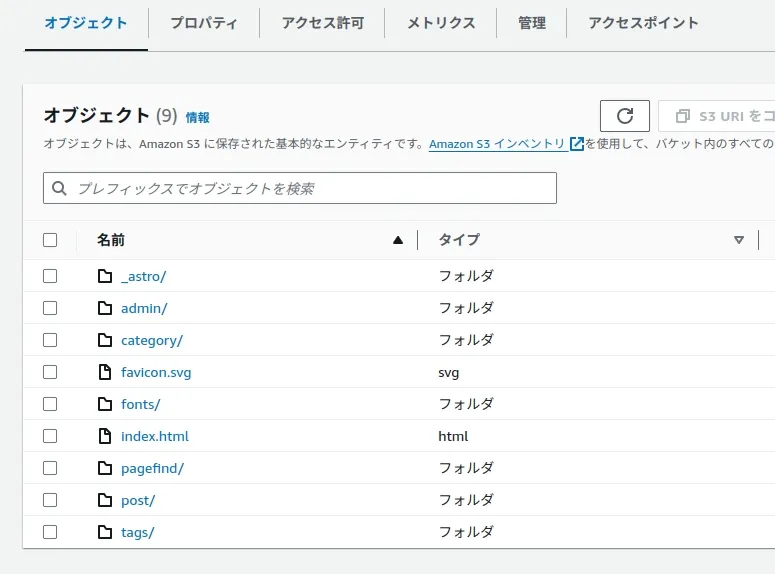
取り急ぎS3バケットにdistディレクトリ以下の資材を一括配置します。
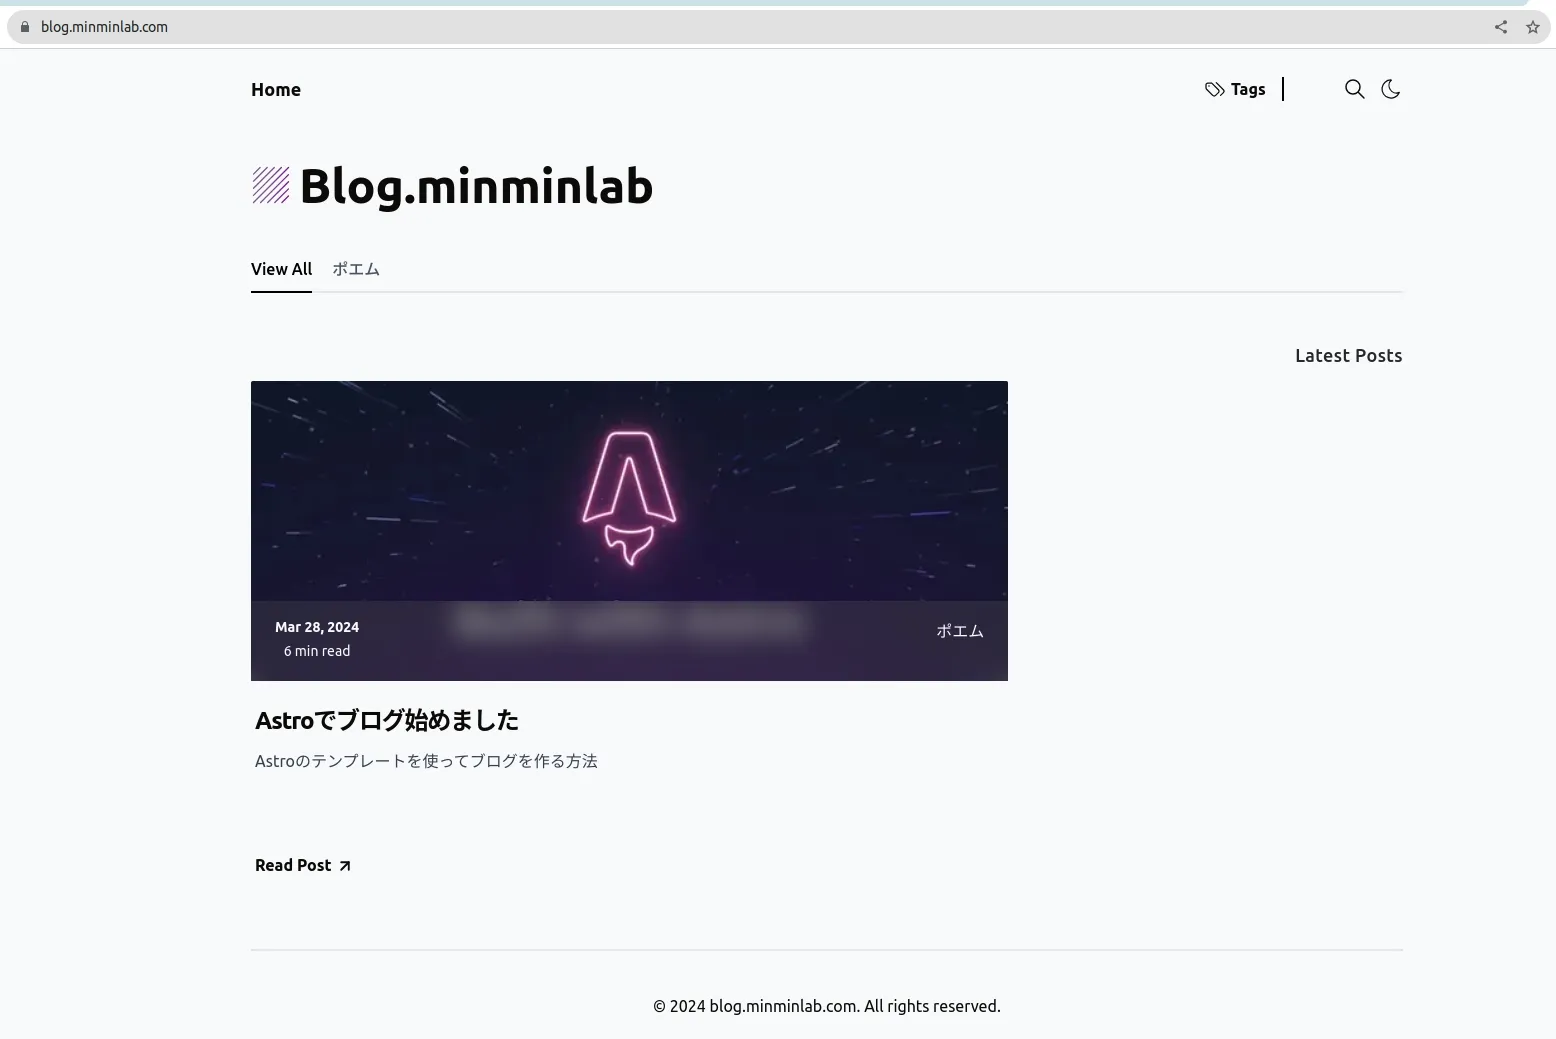
ブラウザからCloudFrontのURLもしくは、カスタムドメインでアクセスするとブログが表示されました!
まとめ
テンプレートを使用して簡単にブログサイトを作成することができました。
ただ、いつまでも人様の作ったものを使い続けるわけにはいかないのでフルリプレイスできるように頑張りたいです。
また、S3へのデプロイだとコンテンツ更新の負担も大きいのでこの辺も改善したいですね。
以上、Astroのテンプレートを使ってブログを作る手順でした。